


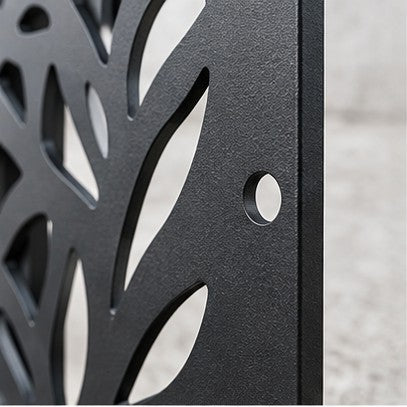
Perimeter Holes
Pre-planned holes around the panel edge for direct fixing or attachment to a support frame.
Best for: direct panel mounting
 Proud Member of AFA

Custom laser-cut privacy screens
Compare applications, panel details, mounting options, finishes, and site information before requesting a coordinated screen package.
Start with your application
Start with the surrounding structure and site conditions. The same pattern can require a different mounting route when the substrate or project exposure changes.
Mounting & fabrication options
These are common fabrication concepts, not fixed structural specifications. Final hole locations, brackets, posts, frames, anchors, and fasteners are confirmed around the panel and site.
Pre-planned holes around the panel edge for direct fixing or attachment to a support frame.
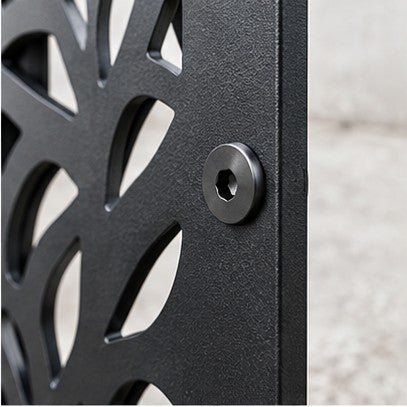
A recessed fixing approach where a cleaner, lower-profile face is part of the design intent.
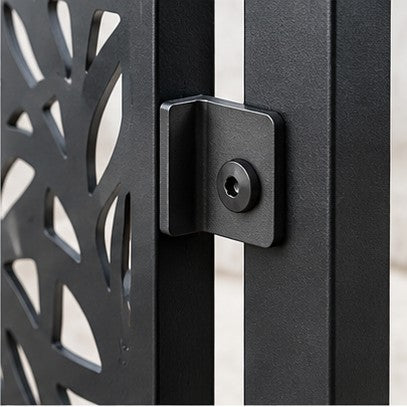
Fabricated tabs can move the connection away from the panel face and simplify selected assemblies.
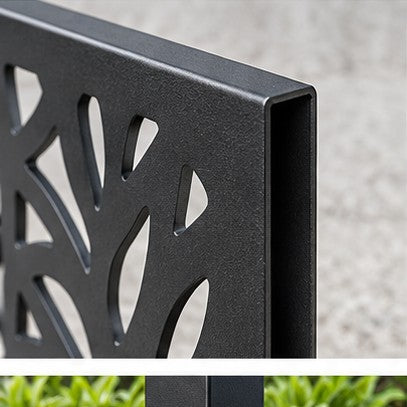
A formed edge can add return depth, create a fixing surface, and support a crisp architectural finish.
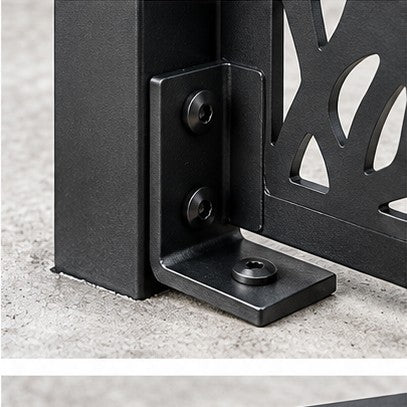
External brackets provide an adaptable connection between panels and suitable walls, posts, or frames.
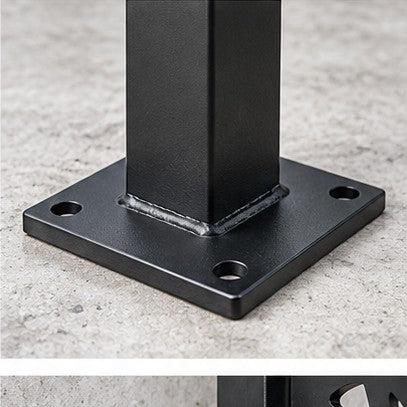
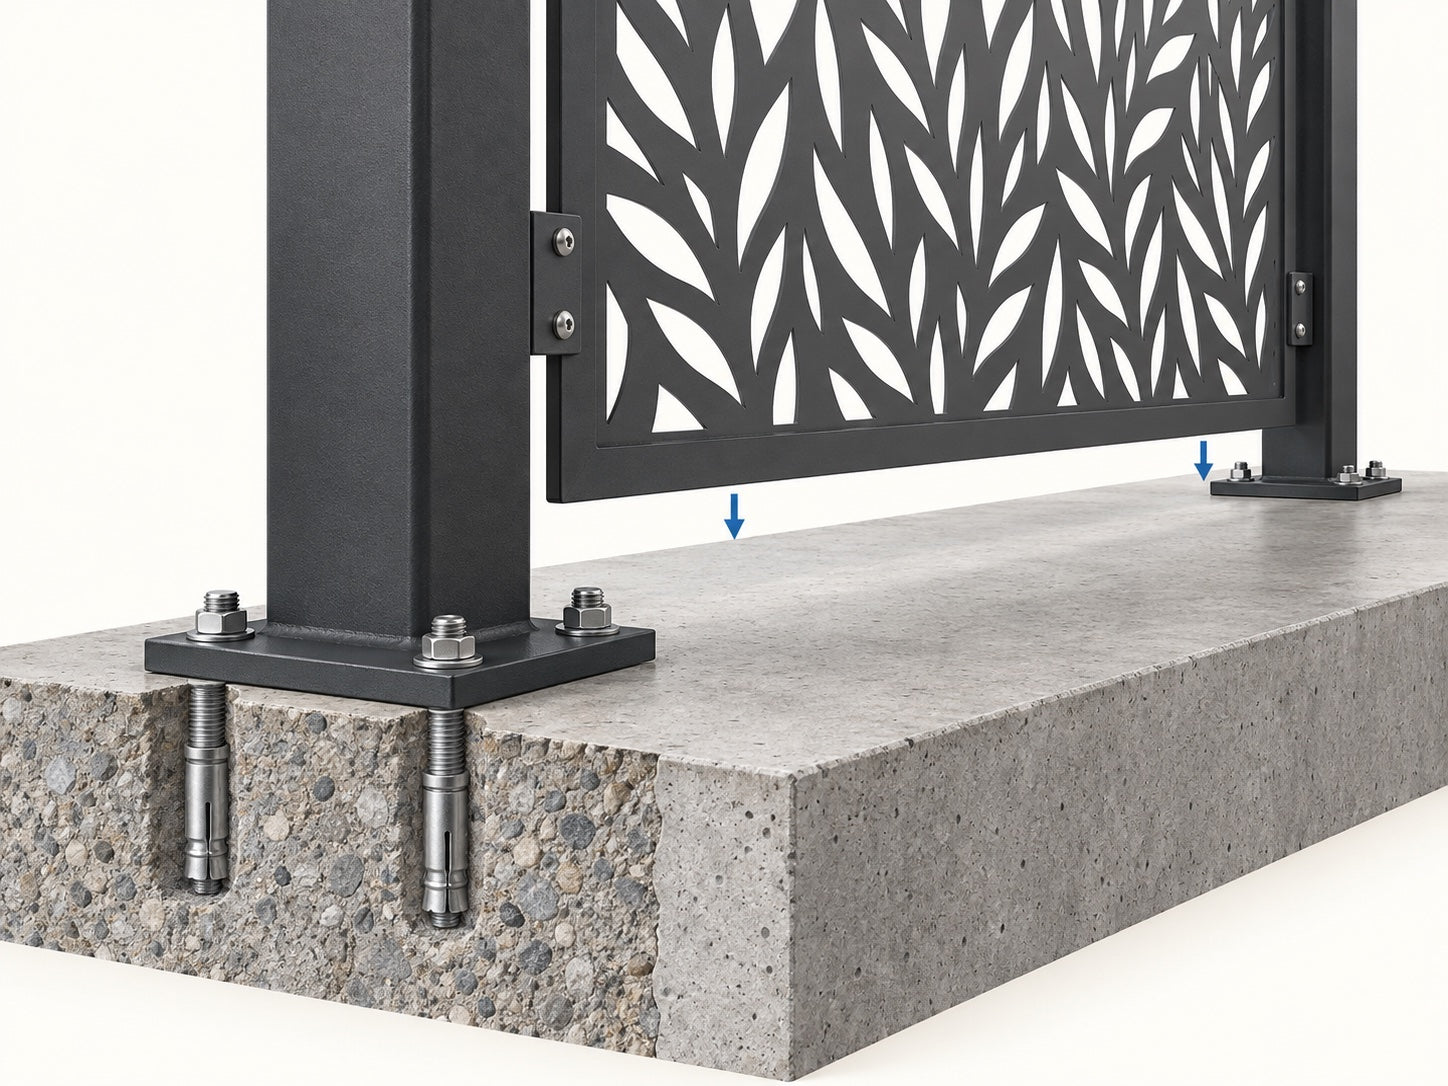
Welded base plates allow posts to be anchored to a verified structural concrete surface.
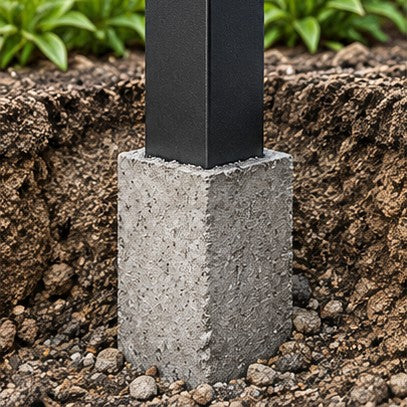
Longer posts can be set into project-specific footings for new freestanding screen runs.
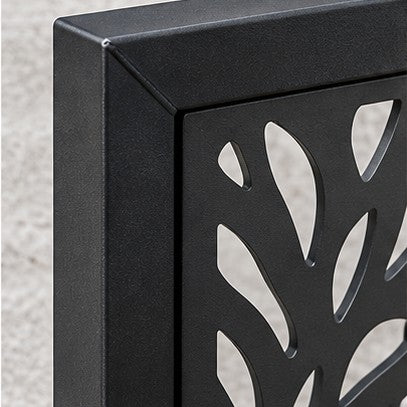
A coordinated perimeter frame can support larger assemblies and create consistent panel edges.
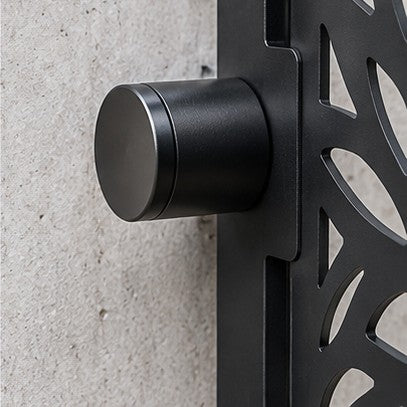
Visible standoffs create a controlled wall gap and a clean feature-panel appearance.
Project-specific
Send the opening, substrate, panel size, layout, and site photos. EONE can review a coordinated fabrication approach.
Start a project review →Compare systems
Use this comparison to narrow the conversation before final fabrication and structural review.
Materials, finish & color
Material, thickness, pattern open area, edge construction, coating system, and installation environment should be reviewed together.
Aluminum and steel options can be discussed around the required fabrication, appearance, environment, and project handling needs.
Choose from standard or project-specific colors after confirming availability and the required coating system.
Installation routes
The correct route depends on the supporting structure—not just the panel. Confirm the site before finalizing posts, frames, brackets, or anchors.
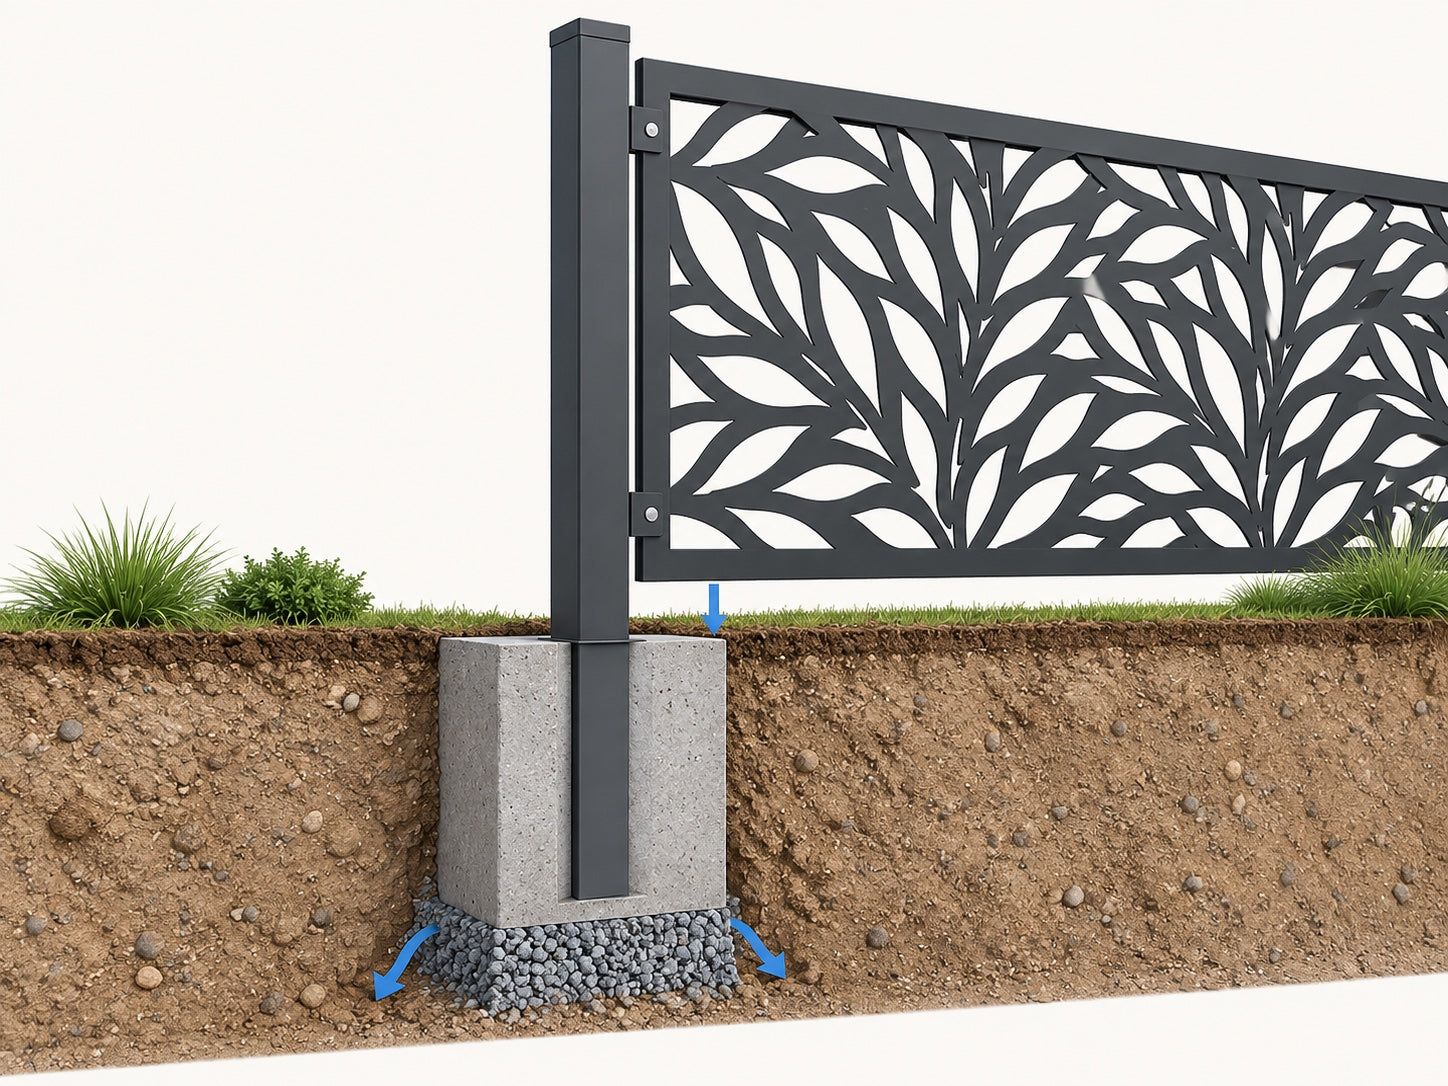
For new freestanding runs in soil or landscaped areas where posts can extend into project-specific footings.
Review site checklist →For verified structural concrete where base plates and approved anchors can form a suitable connection.
Review site checklist →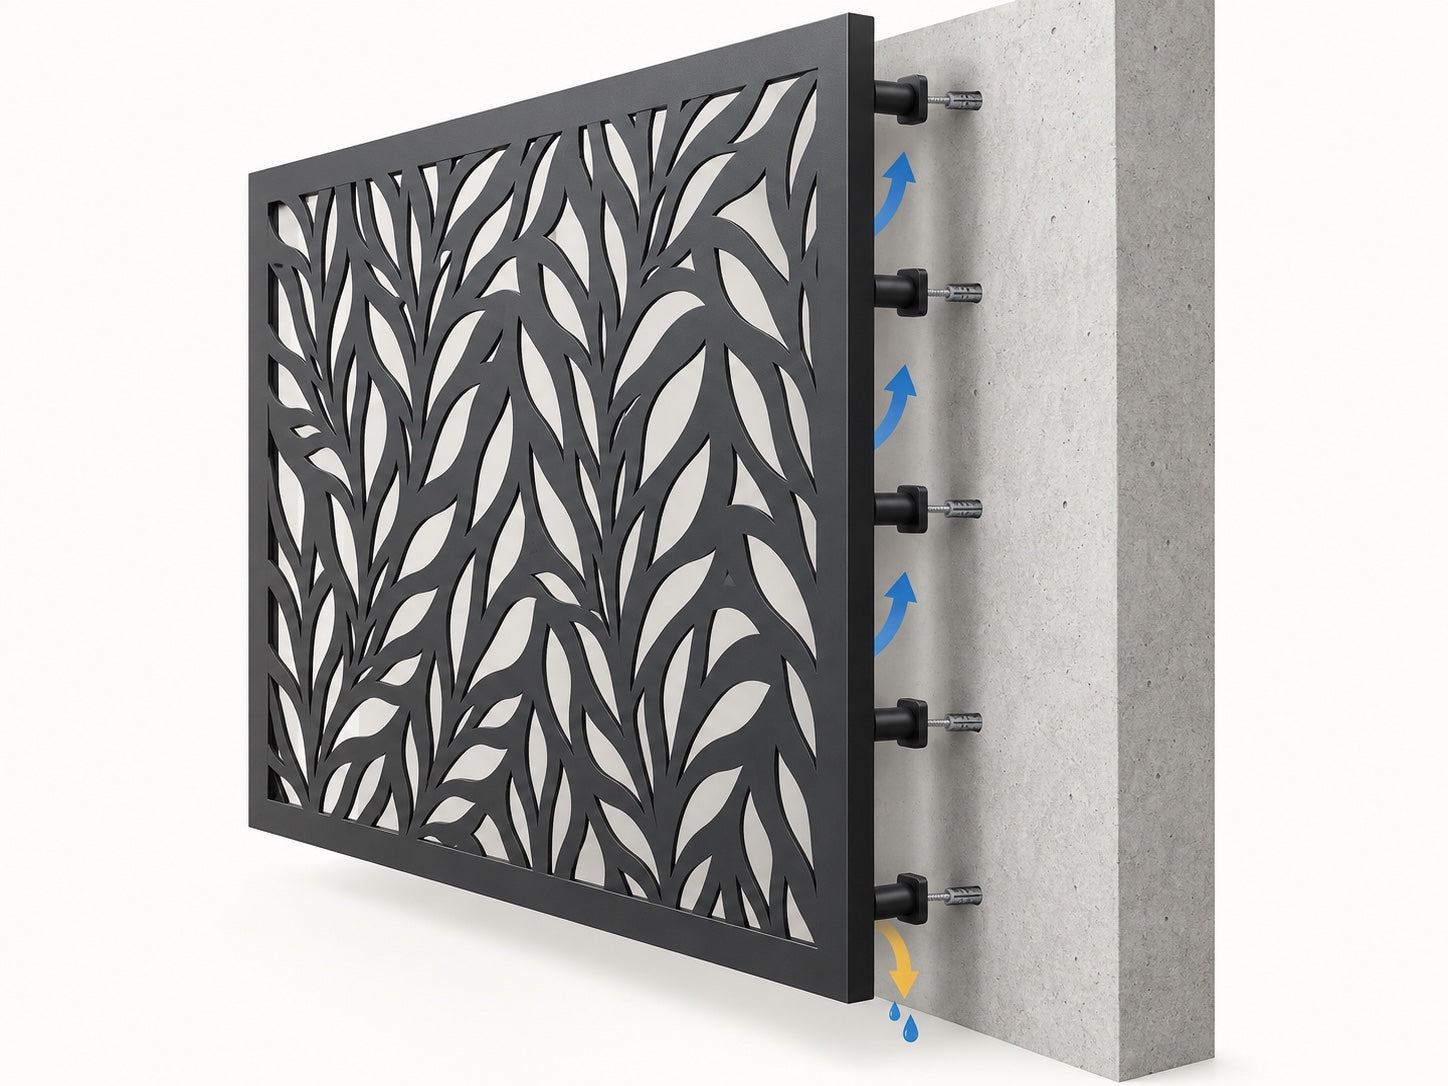
For a suitable wall, column, or frame using coordinated brackets, rails, tabs, holes, or standoffs.
Review site checklist →Hardware & site readiness
A clear site brief helps connect the panel design to a realistic fabrication and installation approach.
The images on this page illustrate typical concepts; they are not stamped engineering drawings. Final posts, frames, footings, anchors, fasteners, and fixing centers depend on panel dimensions, material and thickness, pattern open area, site exposure, substrate capacity, soil or frost conditions, corrosion environment, and local code. Use a qualified installer or engineer where required.
Ready to move forward?
Share your project brief, panel sizes, drawings, pattern direction, finish, installation surface, location, and site photos. EONE can review the screen package as one coordinated request.